
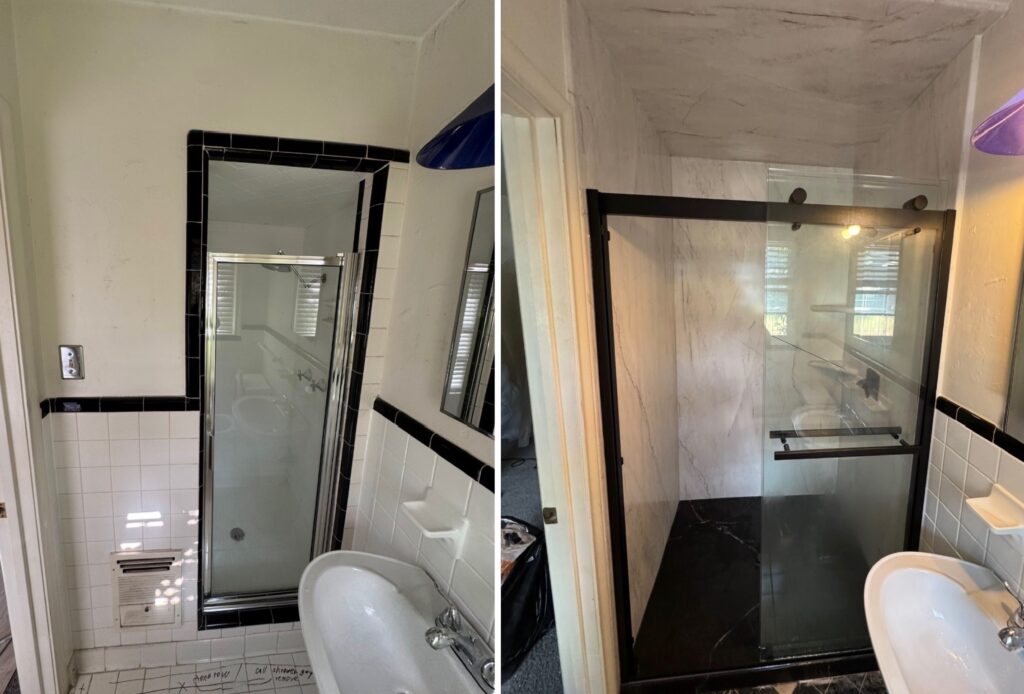
A new shower may look simple once it is finished.
Behind that finished space, however, is a carefully planned sequence of measurements, product selections, demolition, preparation, installation, finishing, and cleanup.
Knowing what to expect can make starting a bathroom remodel much less intimidating.
Here is a general look at how the shower replacement process works.
Step 1: The Initial Consultation
Every project begins with understanding what is wrong with the existing shower and what the homeowner wants to change.
Maybe the current shower is difficult to clean. Perhaps the fixtures feel outdated, storage is limited, or stepping into the bathing area has become inconvenient.
During the consultation, the remodeling team can evaluate the space and discuss design priorities, practical needs, and available options.
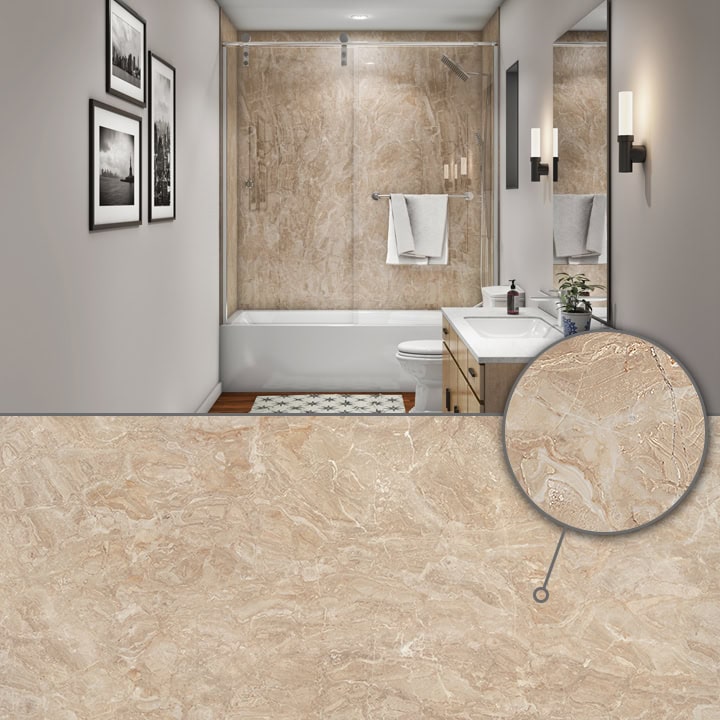
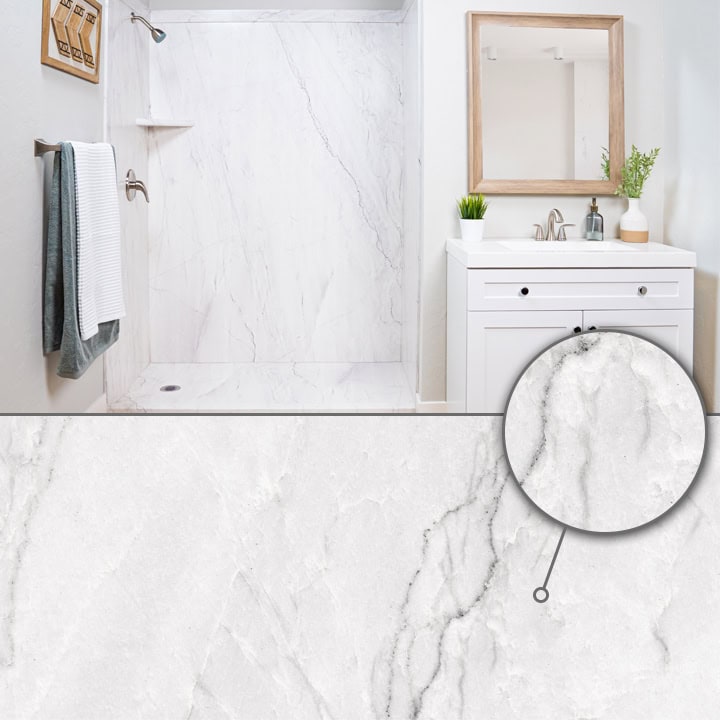
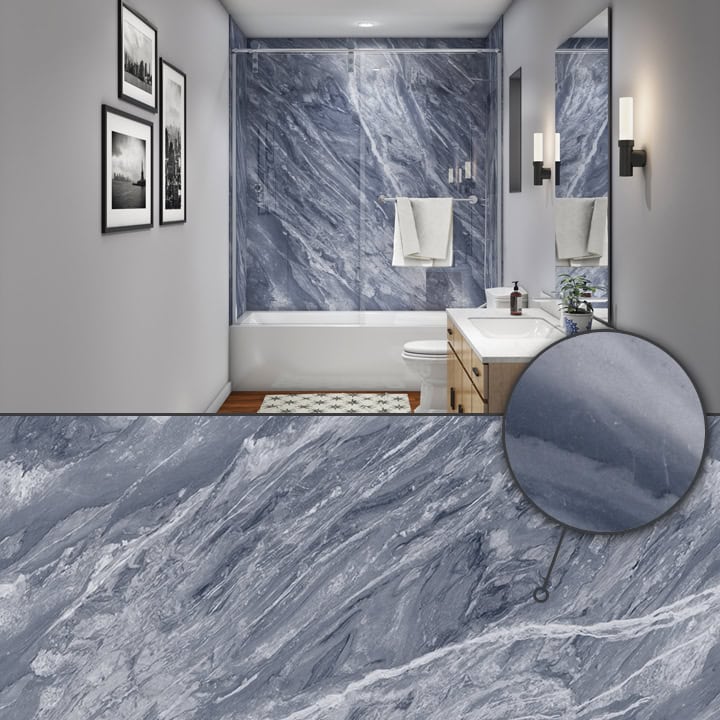
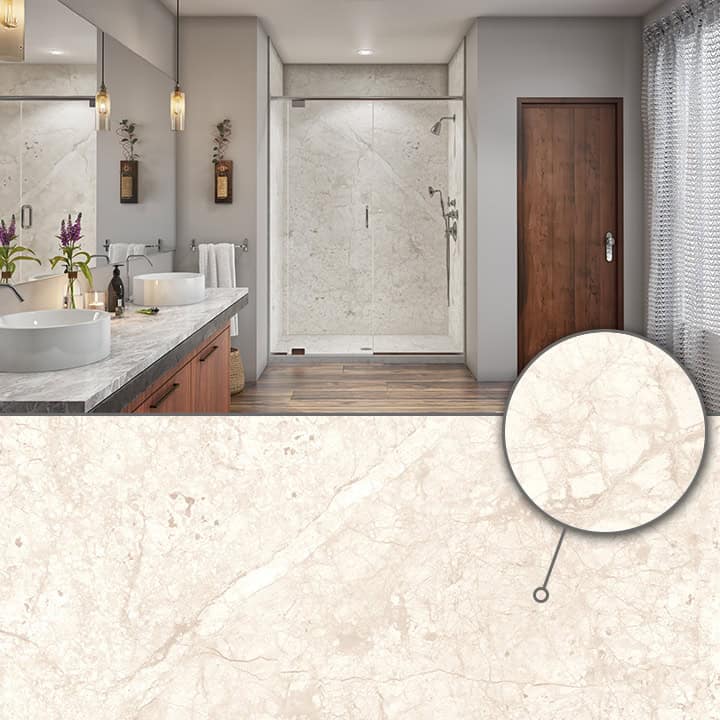
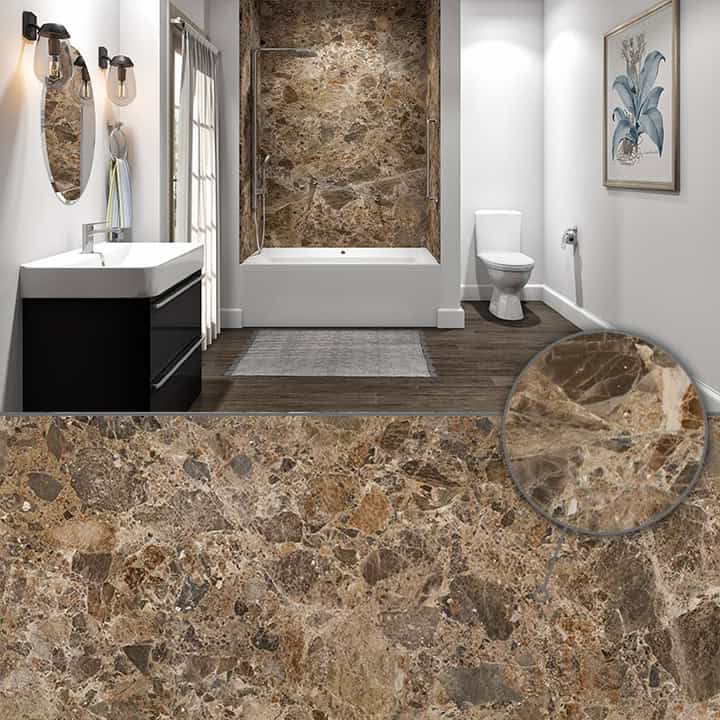
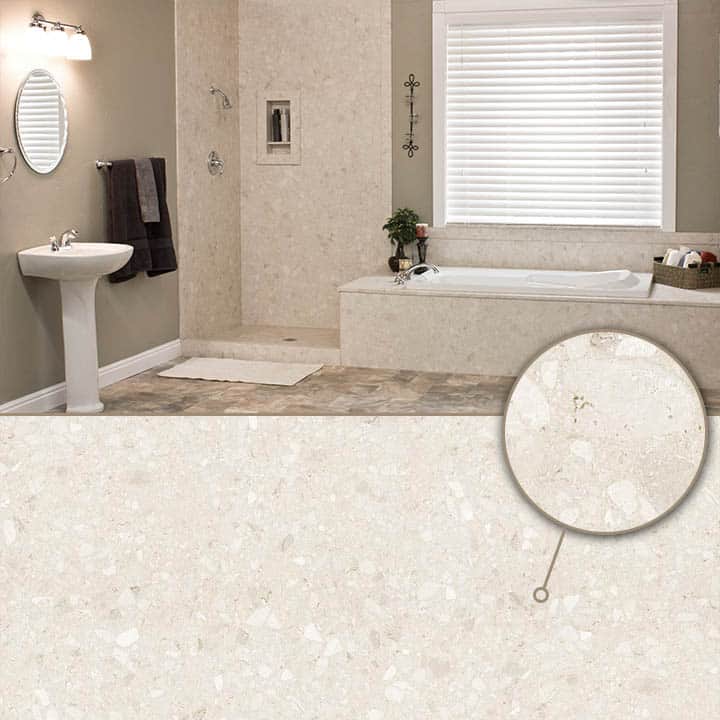
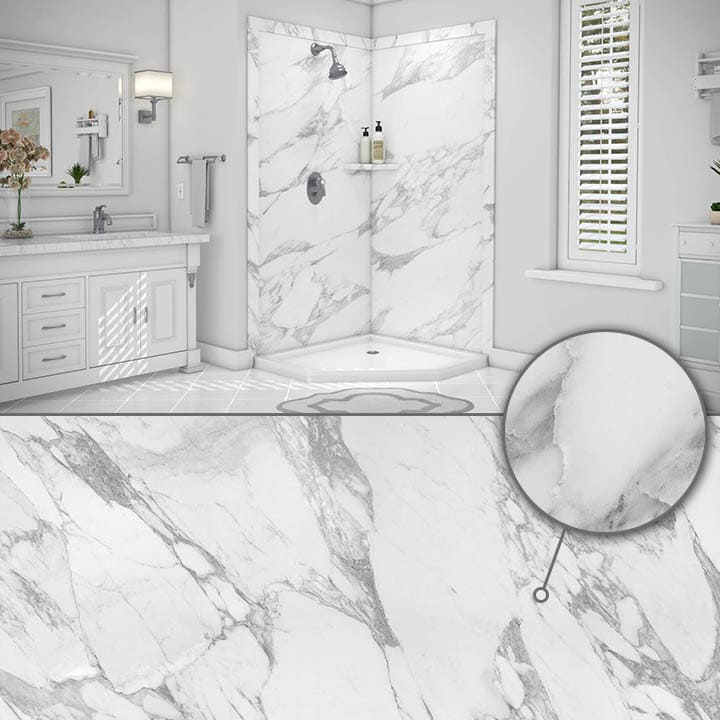
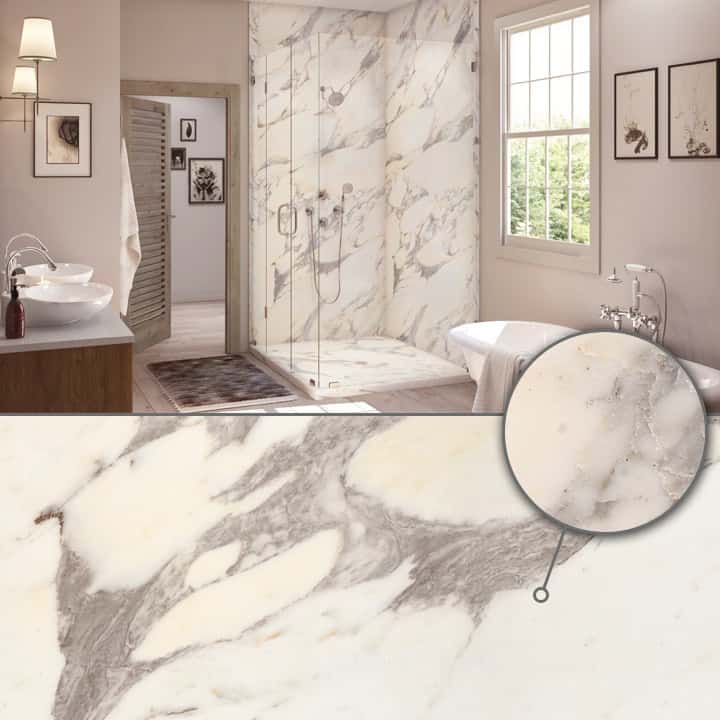
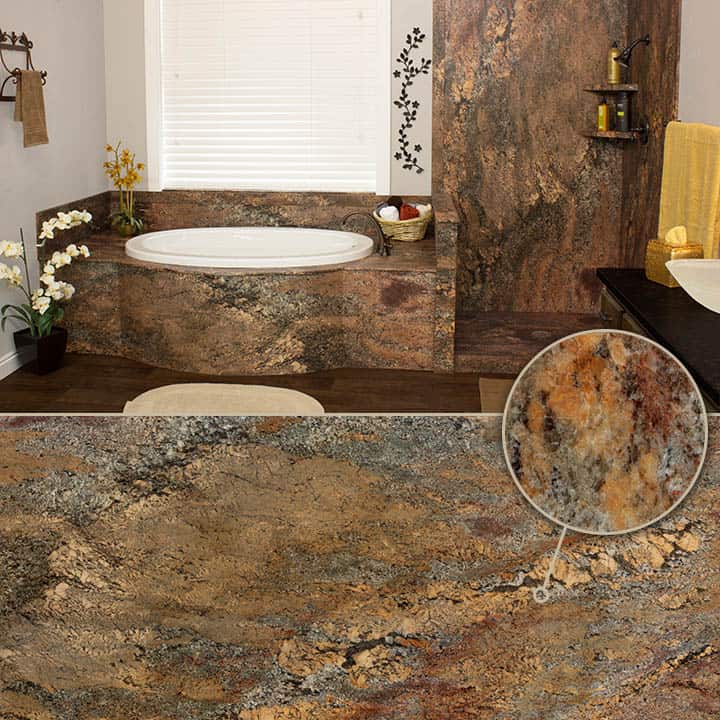
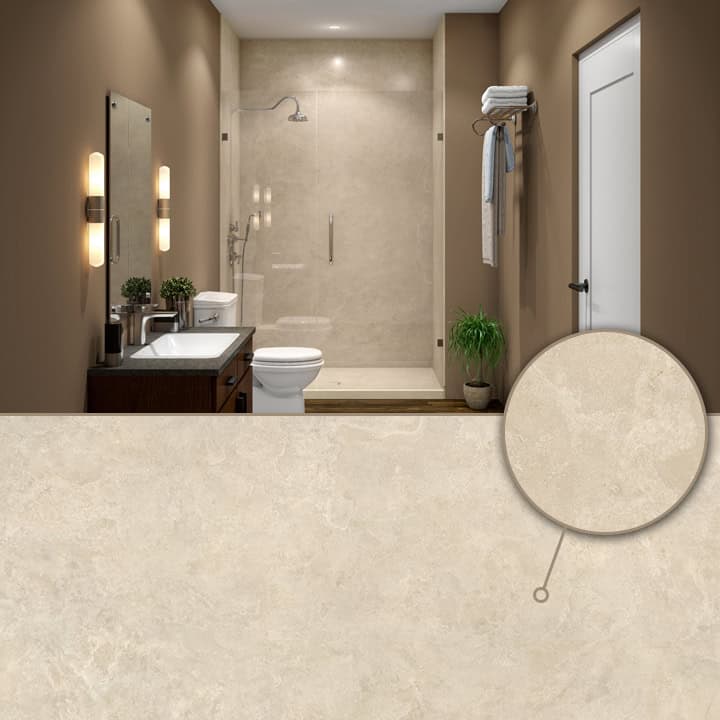
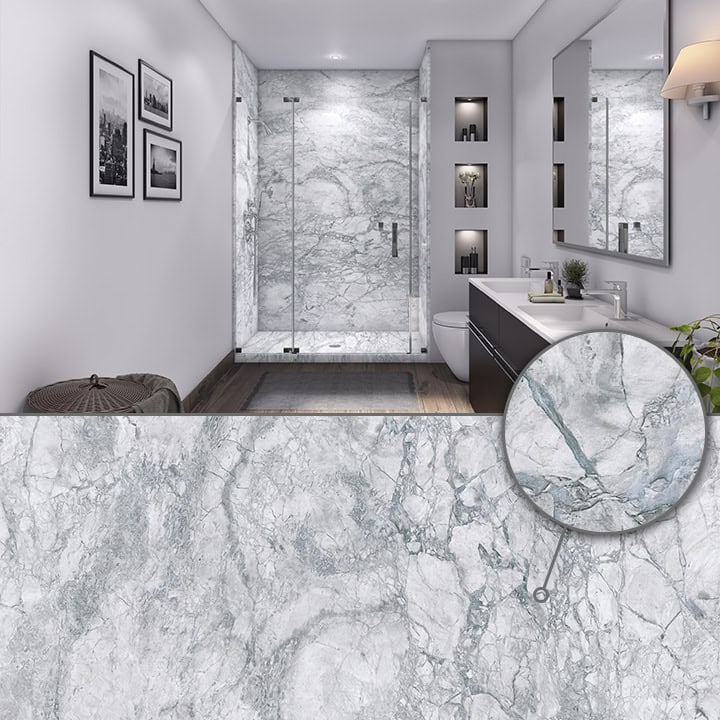
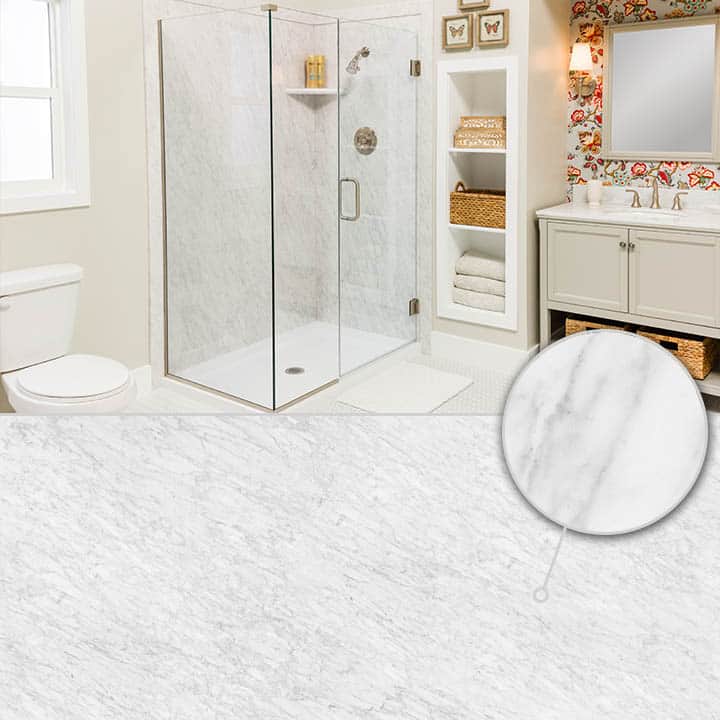
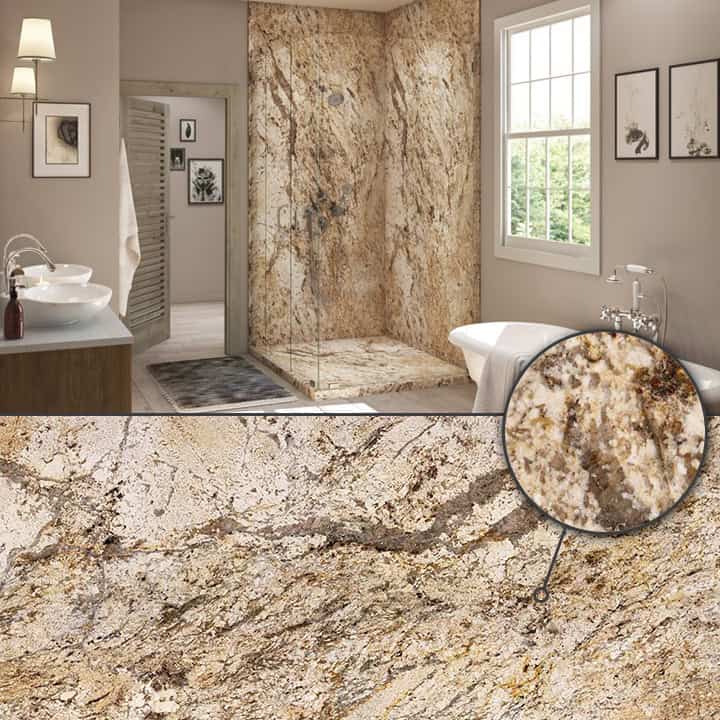
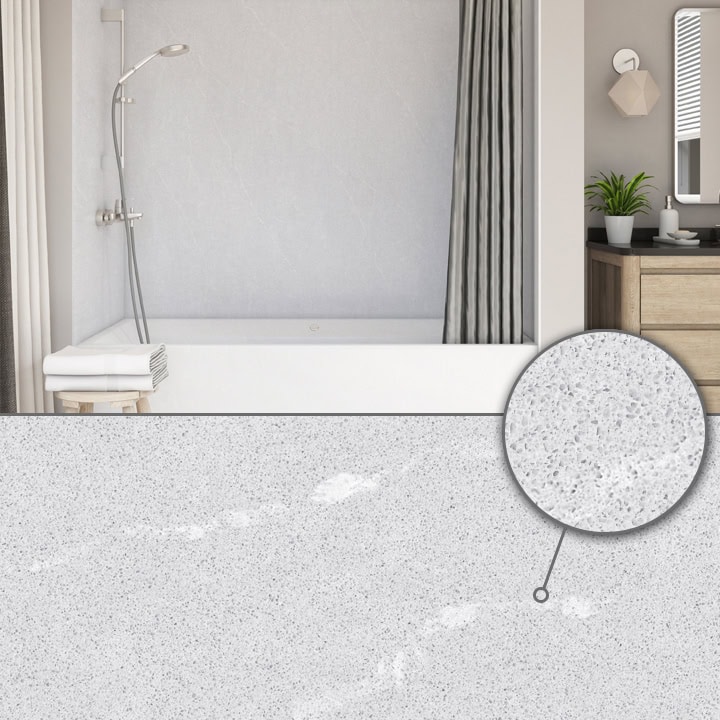
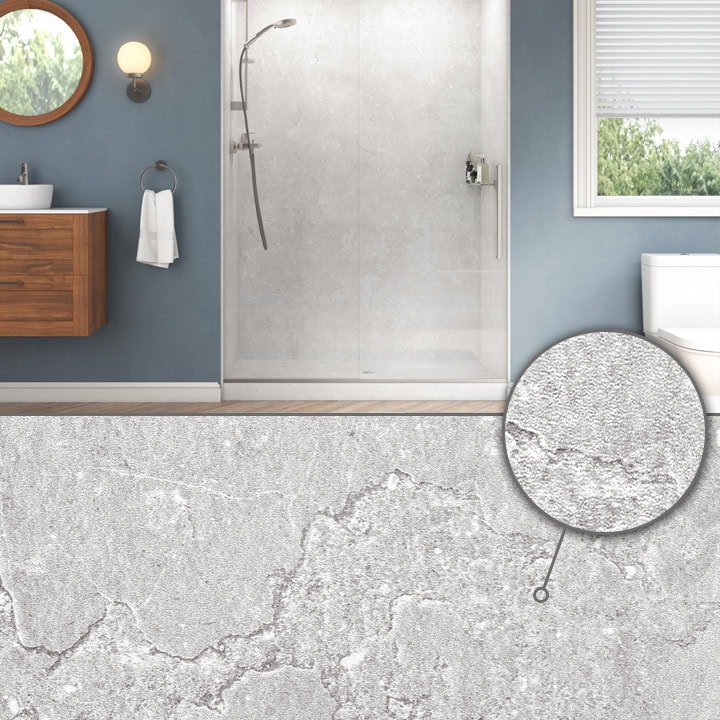
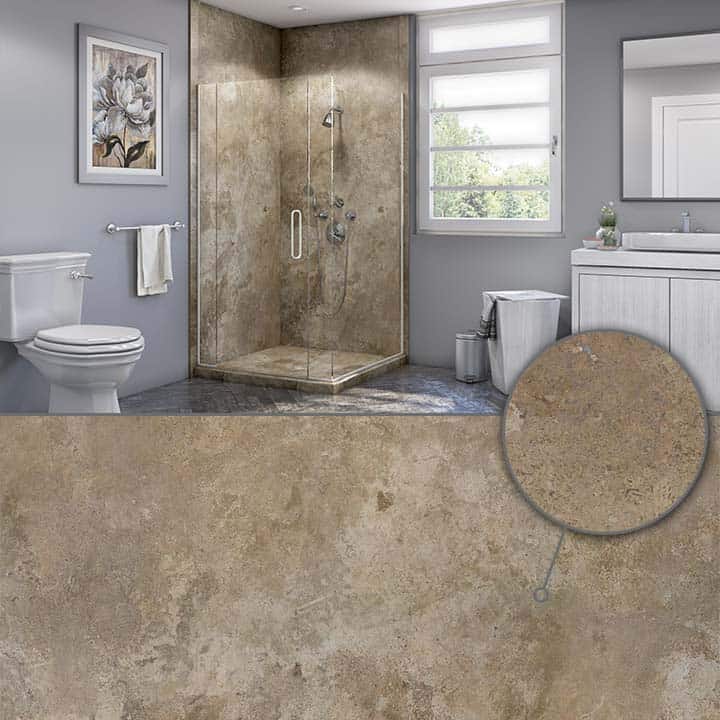
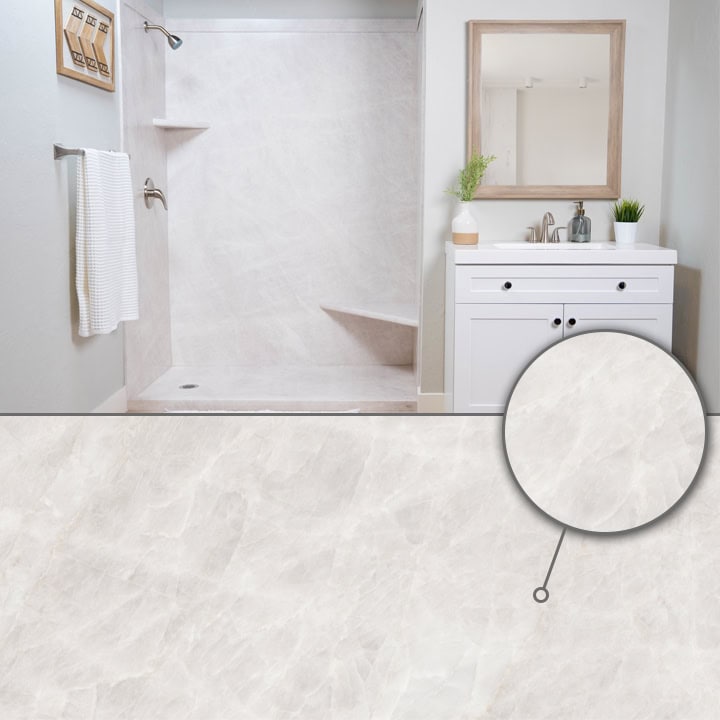
Heartland’s current shower replacement offerings include stone-look walls, shower bases, glass doors, storage, seating, grab bars, handheld showerheads, and updated fixtures.
Step 2: Selecting the Design
This is where the project begins to feel real.
Homeowners can consider wall colors and patterns, hardware finishes, shower doors, storage, seating, and other features.
The selections should work together rather than being chosen independently.
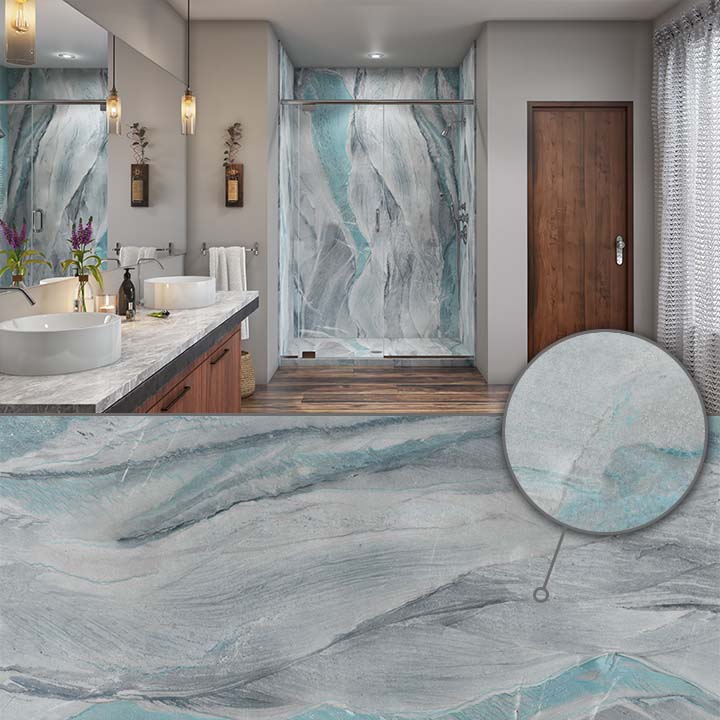
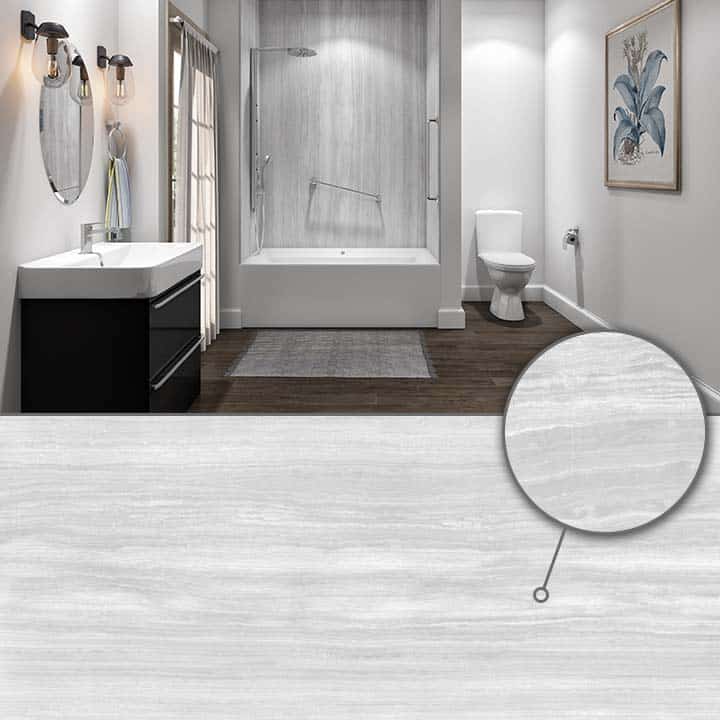
For example, a wall pattern with noticeable movement may pair well with simpler hardware, while a subtle wall finish can provide a neutral backdrop for darker or more dramatic fixtures.
Practical considerations matter too. Storage should be placed where it is convenient to reach, while grab bars or seating should be positioned according to how the shower will actually be used.
Step 3: Preparing the Home
Before demolition begins, the crew prepares the work area.
Bathroom remodeling involves moving materials through the home, so protecting nearby surfaces and maintaining a clean work environment are important parts of a professional installation.
The exact preparation depends on the bathroom’s location and the scope of the project.
Step 4: Removing the Existing Shower
The old shower, tub, wall material, or enclosure is removed to expose the area underneath.
This step is important because some conditions are difficult to fully evaluate until the old materials are gone.
The installer can inspect the space and determine what preparation is necessary before the new system goes in.
Step 5: Preparing the Installation Area
A beautiful shower depends on what is behind the finished surfaces just as much as what you can see.
The area needs to be properly prepared for the new shower base, wall system, plumbing fixtures, accessories, and enclosure.
Every home is different, so existing plumbing and site conditions can affect the amount of preparation required.
That is why remodel timelines should always be based on the actual project rather than a blanket promise.
Step 6: Installing the New Shower
Once preparation is complete, the new shower components can be installed.
Depending on the design, this may include the shower base, stone-look wall surfaces, fixtures, shelves, seating, support features, and other accessories.
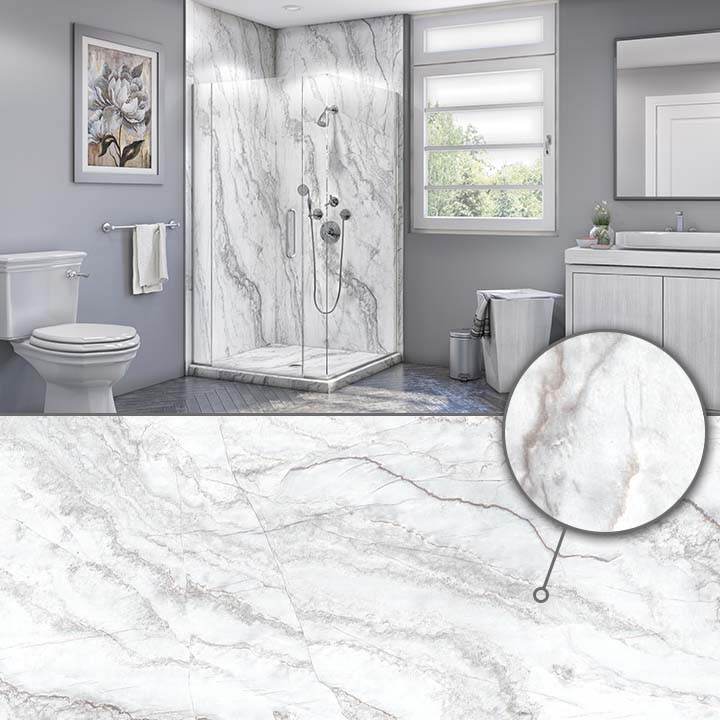
Heartland’s wall systems are designed without traditional grout lines, allowing homeowners to achieve a stone-inspired appearance while simplifying routine maintenance.
Step 7: Glass and Finishing Details
The enclosure has a major effect on how the completed shower looks.
Glass doors can make the space feel more open and showcase the new wall system.
The finishing stage also includes ensuring fixtures, storage, accessories, and other visible details are properly completed.
These smaller details are often what make the shower feel like an integrated part of the bathroom rather than simply a replacement fixture.
Step 8: Cleanup and Final Review
Professional remodeling should not end when the final component is installed.
The work area should be cleaned and the homeowner should have an opportunity to review the completed project.
This is also the time to understand normal care and maintenance for the newly installed products.
Many bathroom remodeling projects can be completed in two days or less, although actual timelines depend on site conditions, project scope, and selections.
Frequently Asked Questions
Can a shower really be replaced without remodeling the entire bathroom?
Yes. A wet-area remodel can update the shower while leaving other parts of the bathroom in place.
How long does shower replacement take?
It depends on the existing conditions and selected features. We will provide expected timing based on the individual project.
Can accessibility features be added during the remodel?
Yes. Seating, grab bars, handheld showerheads, and low-entry bases can be planned into the design.
Know What to Expect Before Your Remodel Begins
Understanding the process makes it easier to plan your project and make confident design decisions.
Heartland Remodeling helps Dallas–Fort Worth homeowners move from an outdated shower to a new space designed around comfort, appearance, maintenance, and everyday use.
Ready to see what your current shower could become? Schedule your free consultation with Heartland Remodeling.